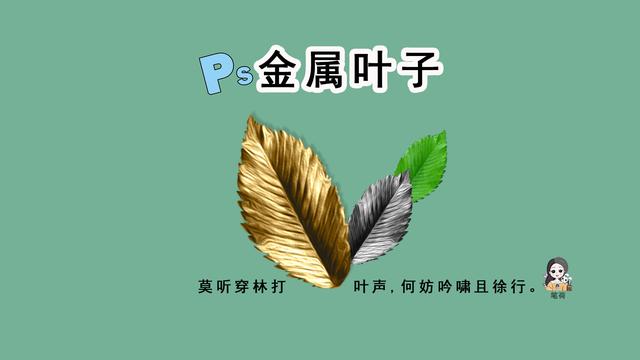
如果让你将现实中的物品“点石成金”,很难,然而,用PS却可以轻松做到。怎么用PS制作“金属叶子”效果呢?来,我教你。下面一起看步骤。
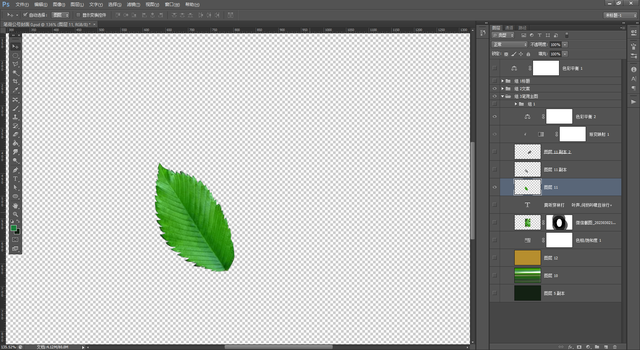
(1)在Photoshop软件中,我们打开一张提前抠图的透明底的叶子图片。
(2)我们按【Ctrl+Shift+U 】去色,按【Ctrl+J】复制一层,【图层混合模式】改为【差值】。

(3)我们按【Ctrl+E】合并两个图层。
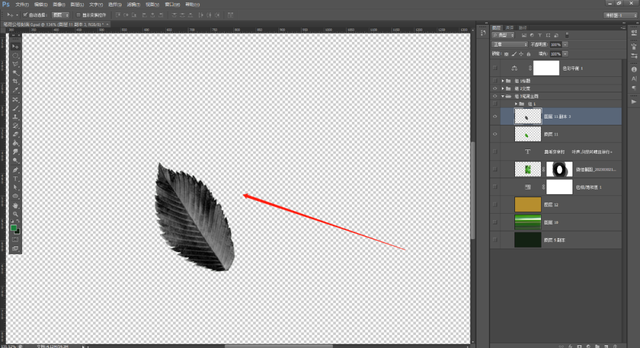
(4)我们再次按【Ctrl+J】复制一层,将【图层混合模式】改为【差值】。

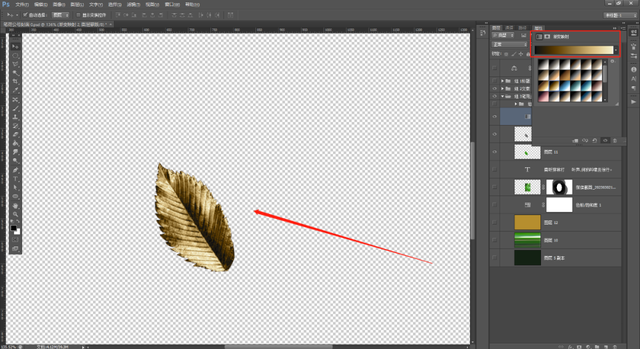
(5)我们按【Ctrl+E】合并图层后,建立【渐变映射】,选择一个金属颜色的渐变。
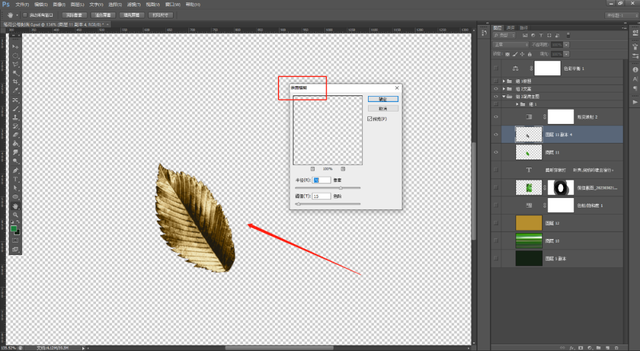
(6)我们通过【滤镜】中的【表面模糊】进度进行调整。
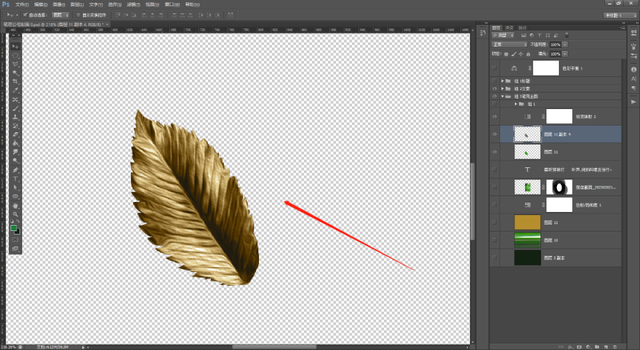
(7)我们通过【滤镜】中的【油画】功能,进一步调整图片。最金属叶子效果就制作完成了。
Photoshop 设计中,对图片的操作方法有很多。Photoshop软件的功能很强大,有很多是我们在生活设计中能够用到的。学习PS,也很简单,坚持学习自有用处。跟着我一起学PS吧!
如果您喜欢这篇文章,请点个“在看”;如果有问题,请在评论区留言,我们后续继续分享一些实用案例,共同学习。